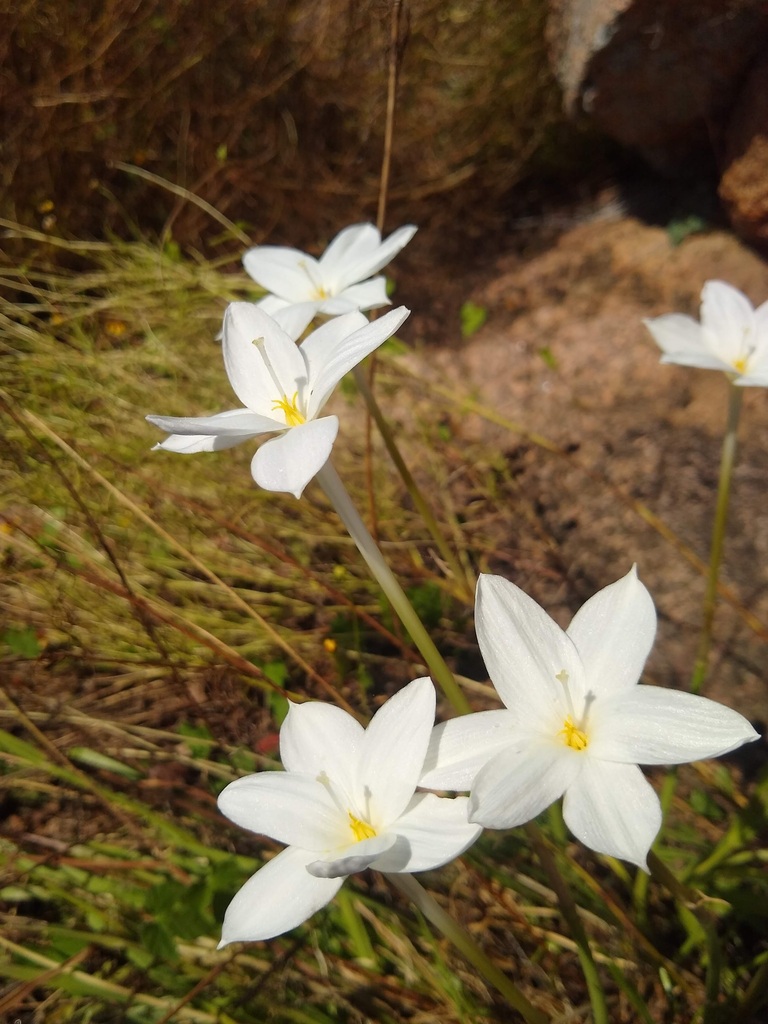
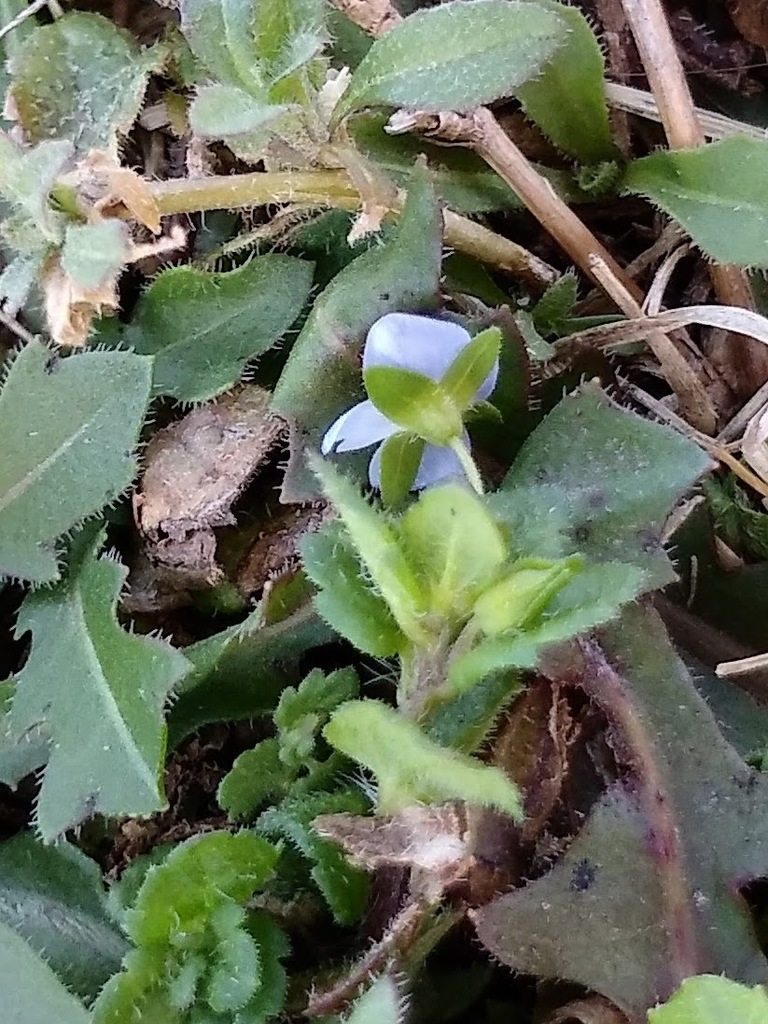
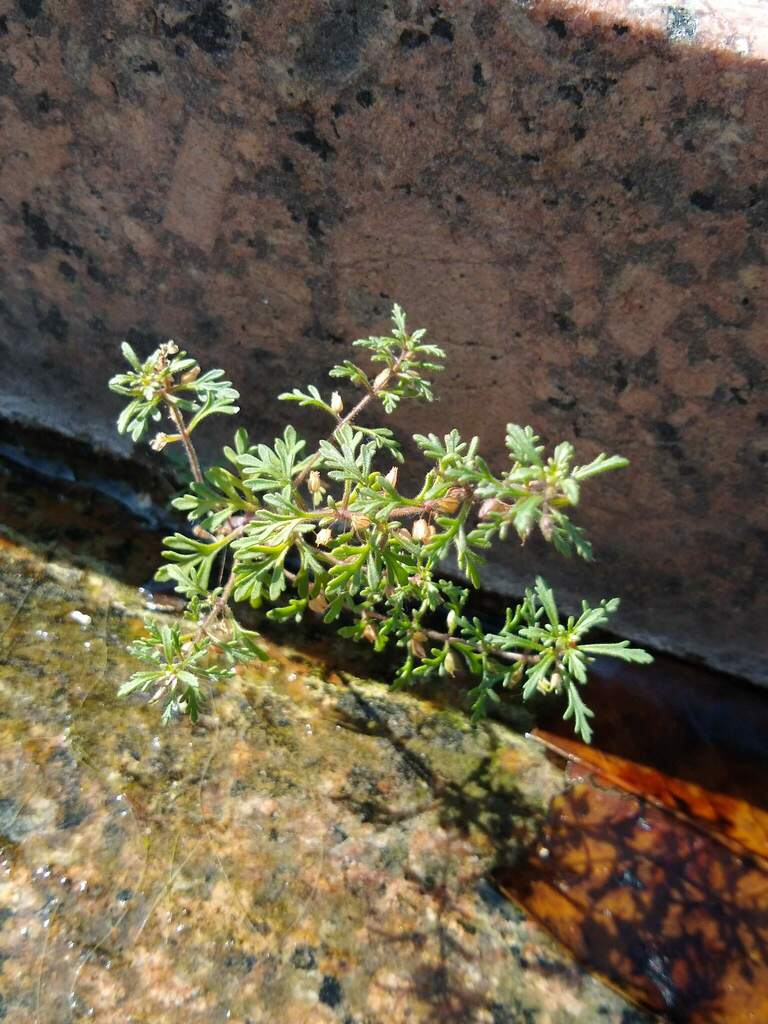
On the long-styled Zephyranthes on Enchanted Rock
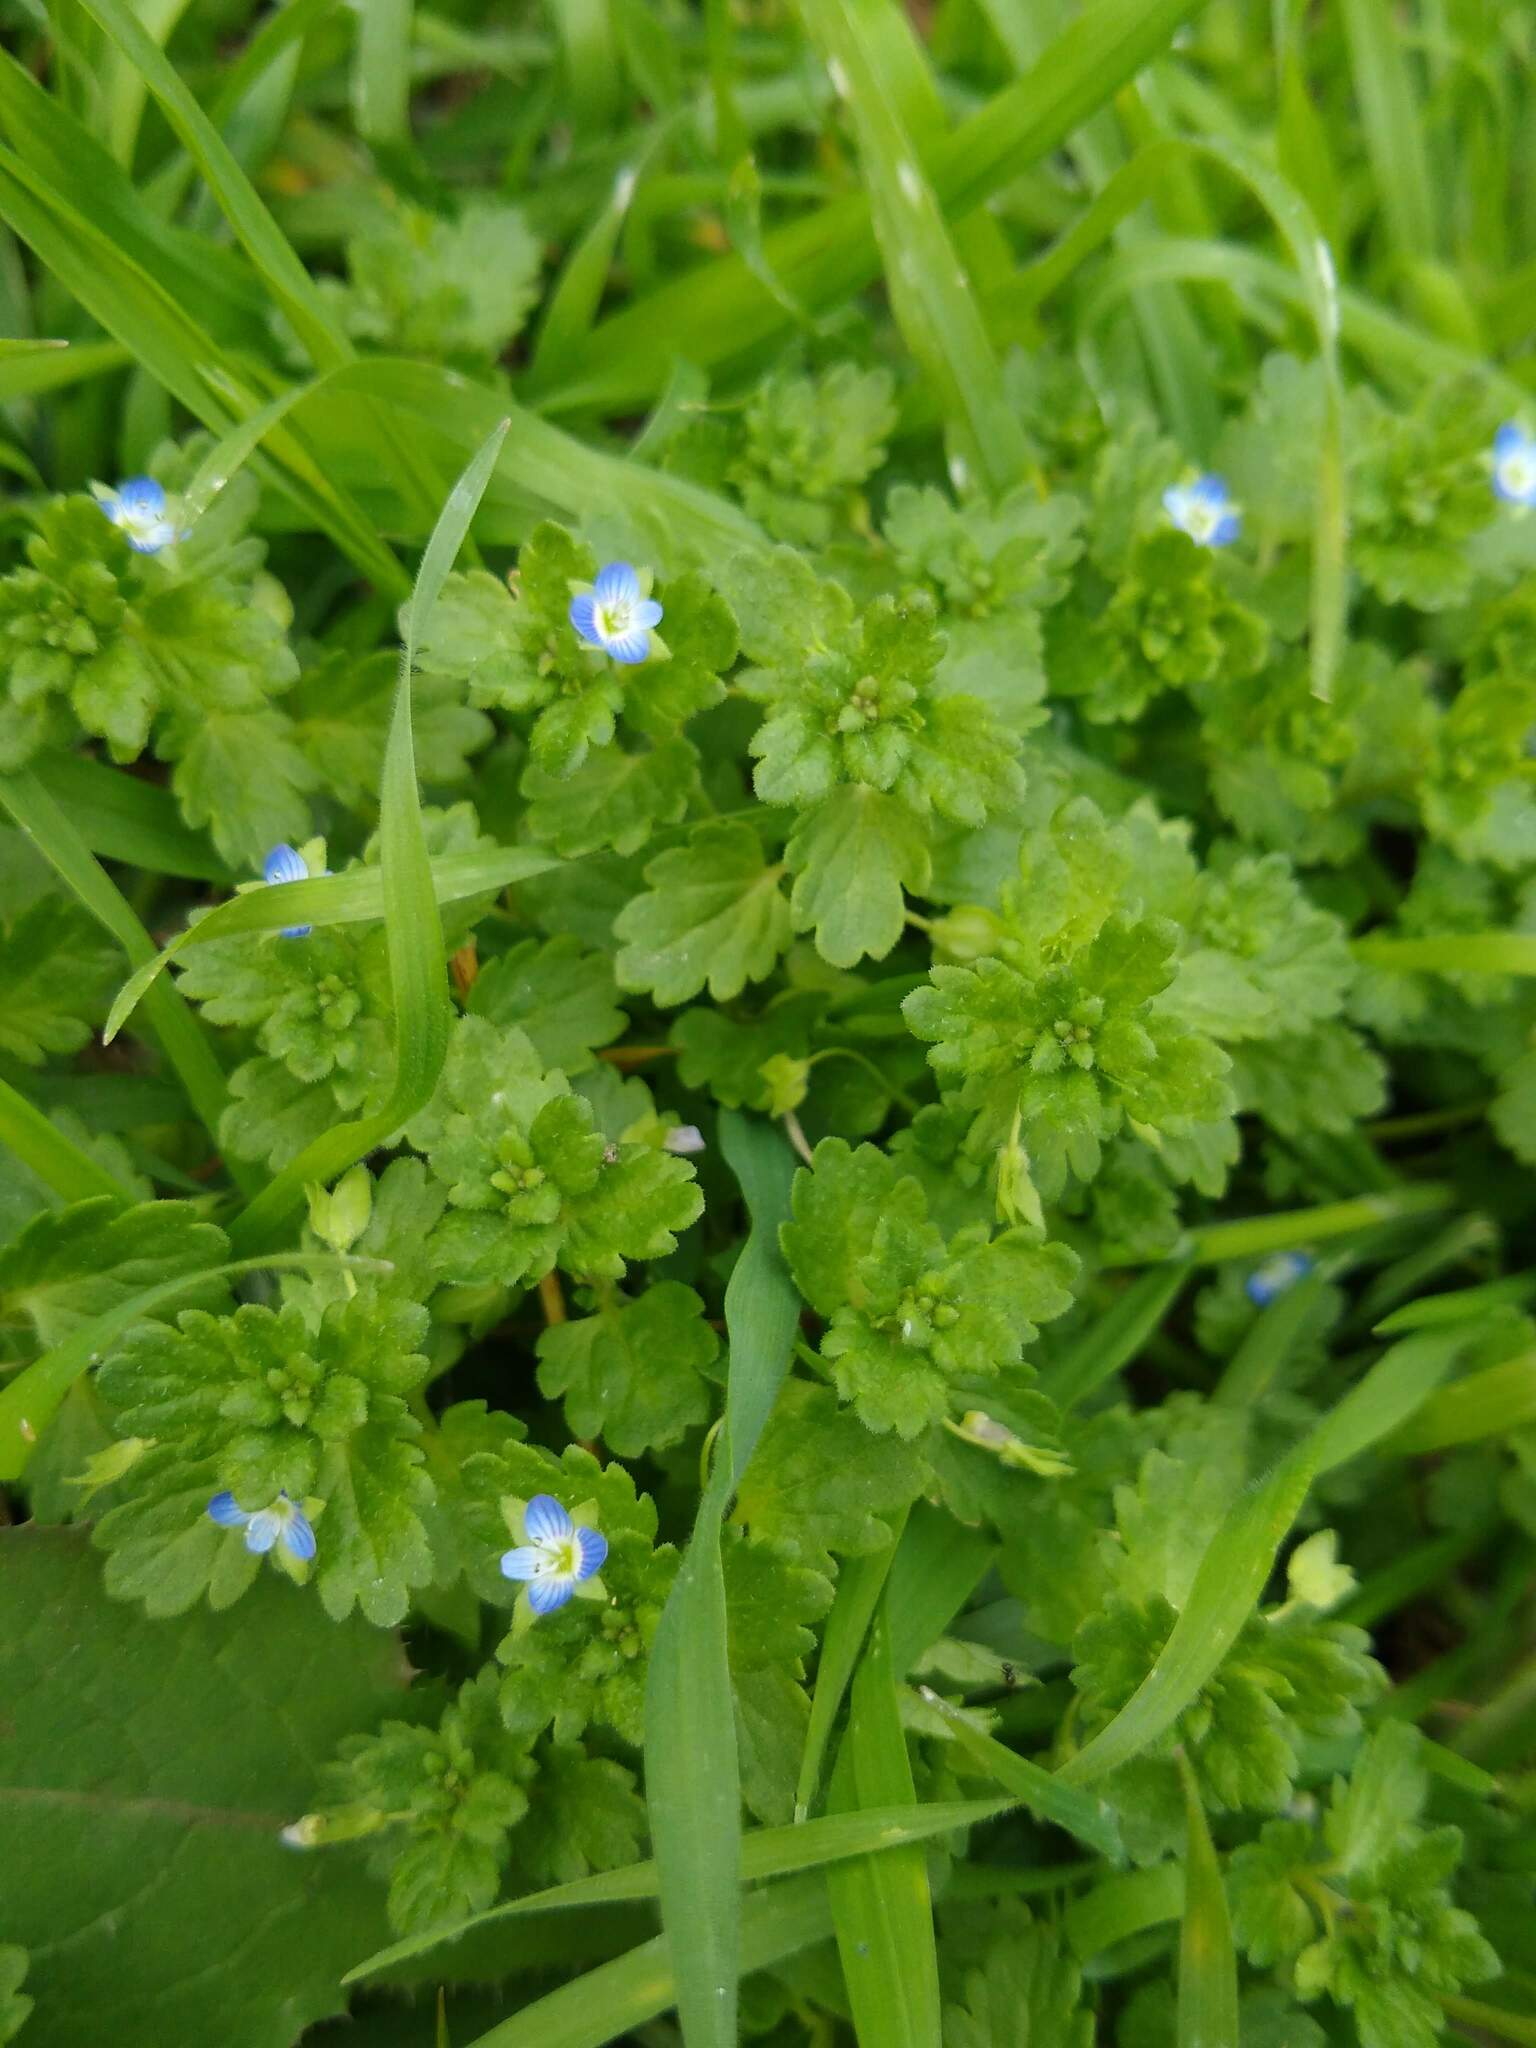
You might've noticed recently that I've been posting a lot of rainlily observations from Enchanted Rock. Some of them might show a plant press or some other equipment in the background, so I figured it might need an explanation.

The First Observations
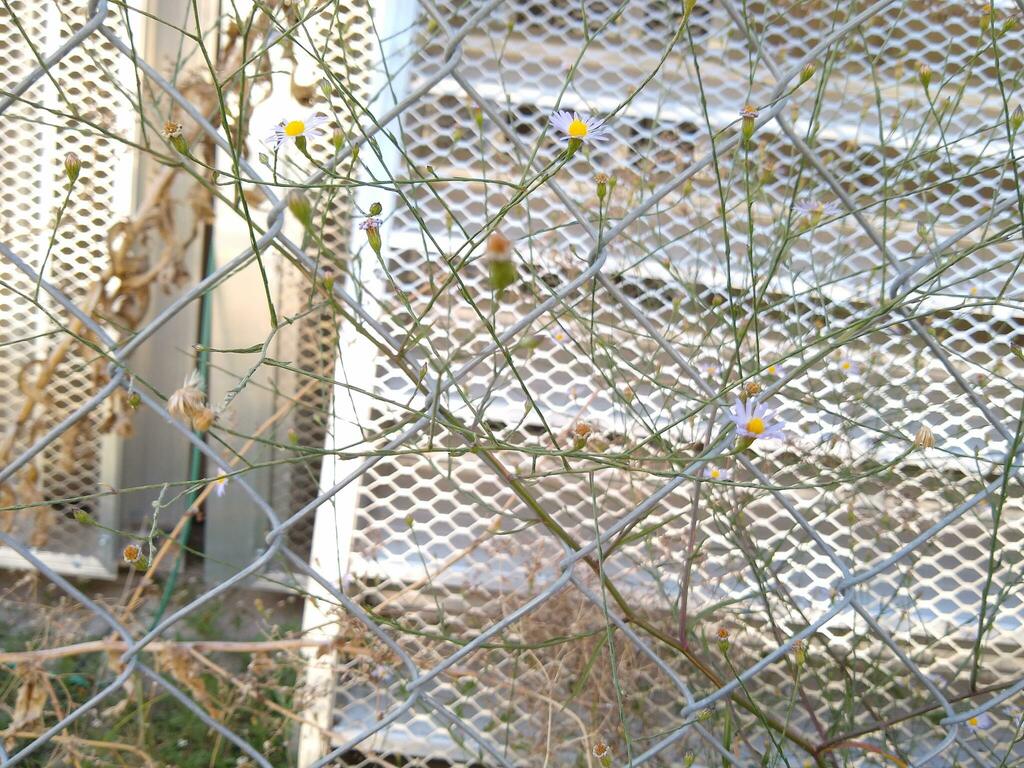
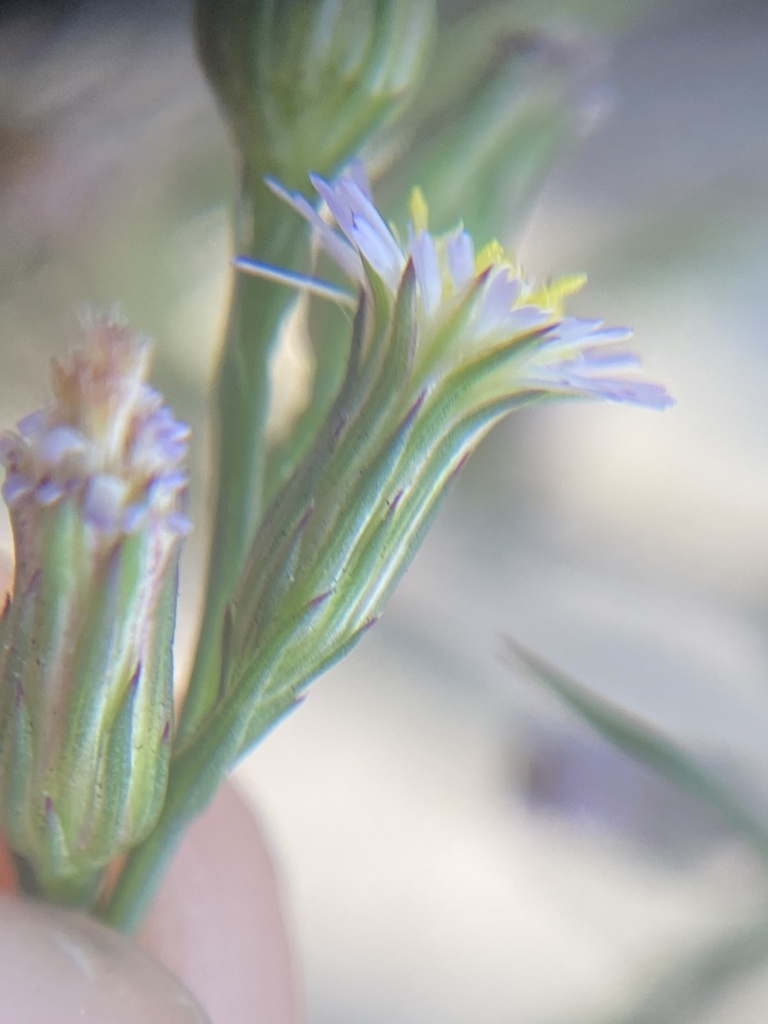
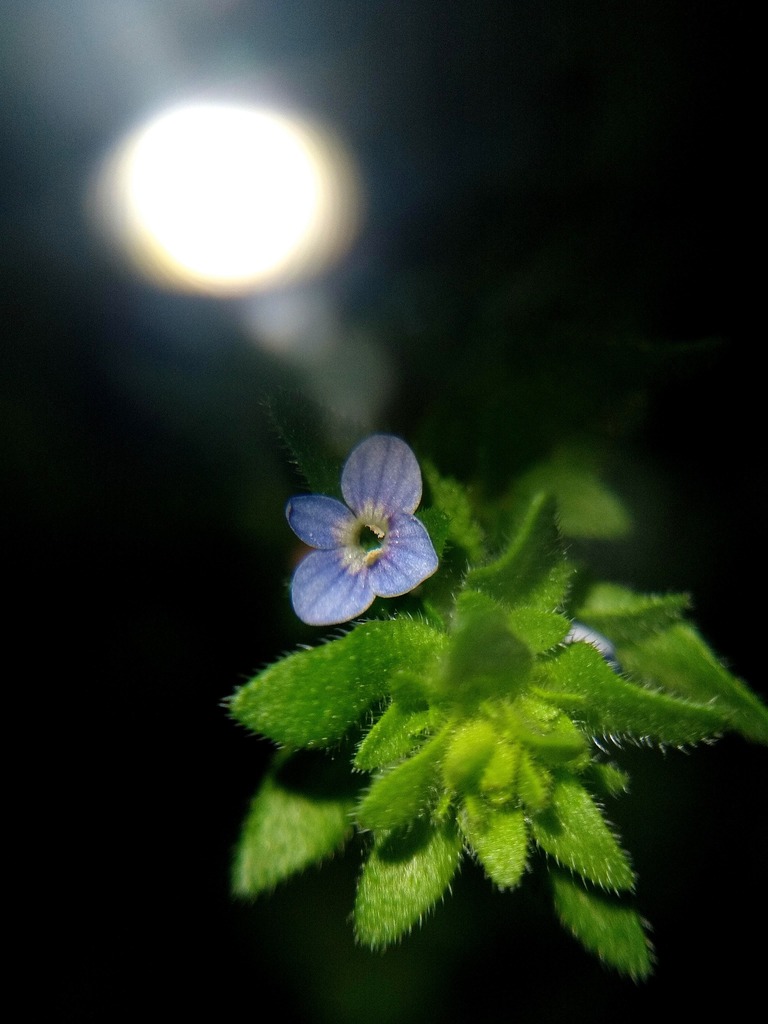
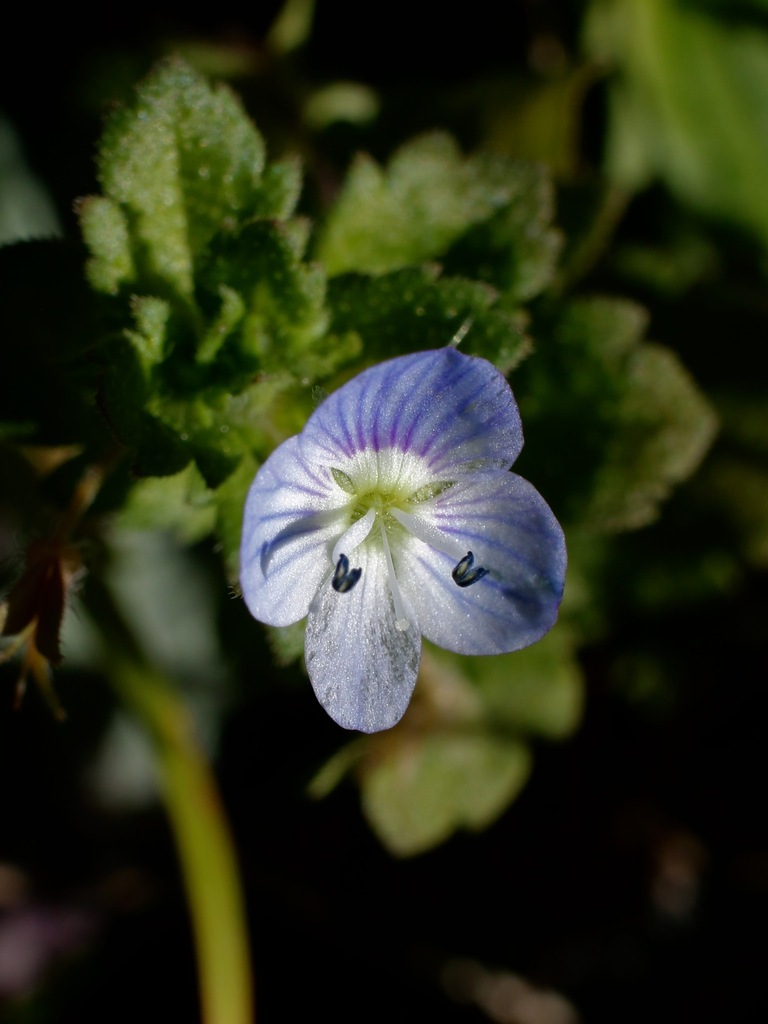
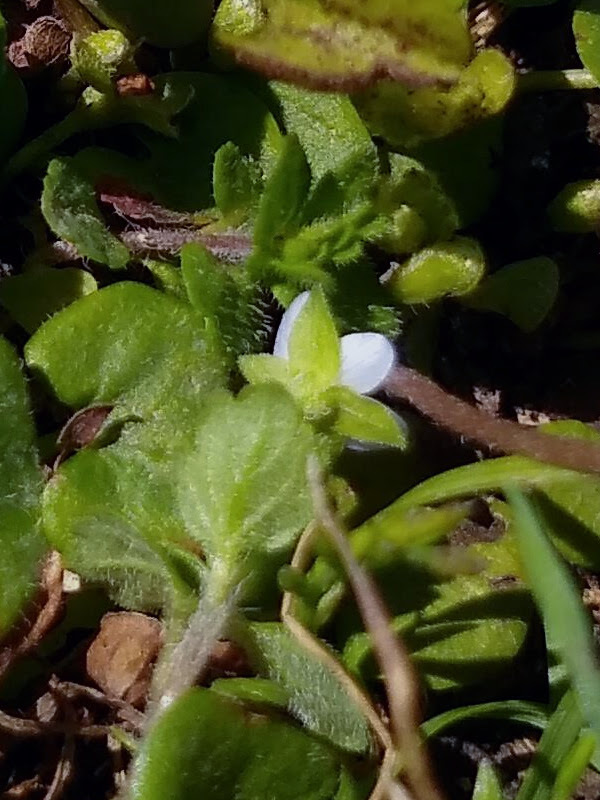
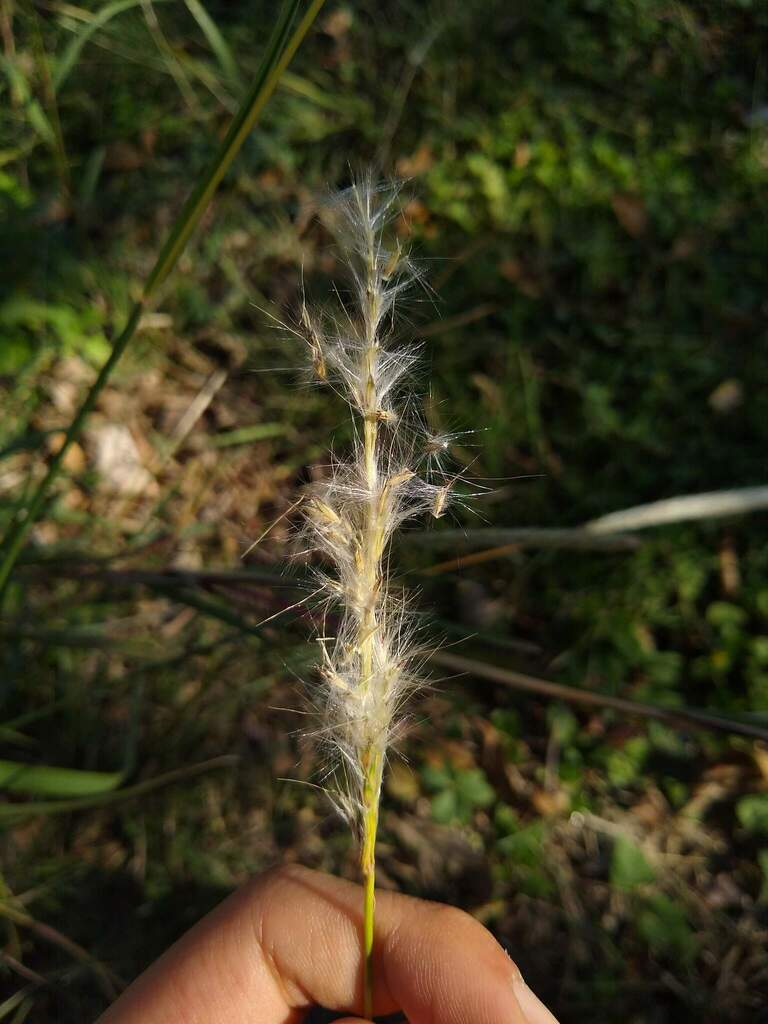
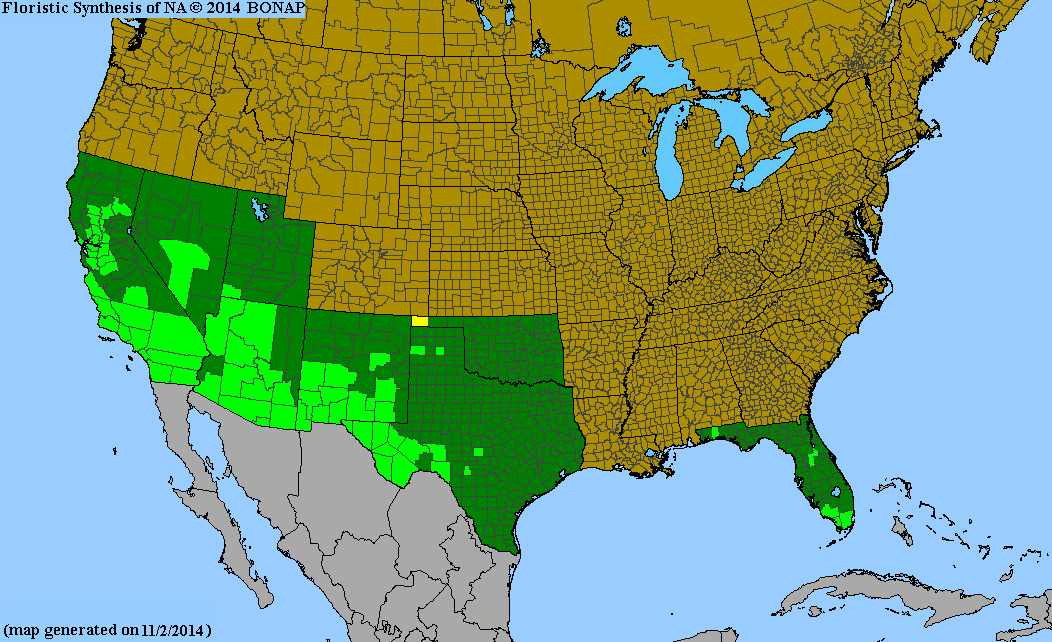
The first observation of these plants came in 2016.. Initially ID'd as Z. drummondii, @alisonnorthup suggested they looked like Zephyranthes traubii, a species known from the Texas gulf coast and into Mexico. The plants are unique due to their long stigma, which is exserted out of the perianth tube far beyond the anthers. As far as I'm aware, Z. traubii is the only species known in Texas with an exserted stigma. Even so, the record of that species from Enchanted Rock would constitute a major disjunction from the main populations along the coast. Since then, more observations of these plants began coming in over the following years, with the earliest record observed in 2014.

Distribution of Zephyranthes traubii from BONAP
In 2014 and 2015, Bob O'Kennon (@bob777) and Kimberly Taylor (@ktaylor) from the Botanical Research Institute of Texas (BRIT) conducted plant surveys of Enchanted Rock State Natural Area, in order to compile an outstanding floristic checklist of vascular plants found on the property, which can be found here. While the report lists Zephryanthes drummondii (syn Cooperia pedunculata) and Zephyranthes chlorosolen (syn Cooperia chlorosolen) for the property, there is no mention of the long-styled Zephyranthes. The authors also conducted a thorough search of previous literature and specimens from Enchanted Rock, so it apparently seems that there is no mention of these plants in the scientific literature, at all.
Interestingly, an observation likely made as a part of those surveys, identified as Z. chlorosolen, shows a long, exserted stigma in one of the flowers. The plants appear to have been overlooked as Z. chlorosolen or Z. drummondii, which is a reasonable mistake given that no other white-flowered rainlily species would be known from the area. It was only after an observer posted photos of the plant to iNaturalist that someone was able to realize something was different about these flowers.
The Leaf Width Observation
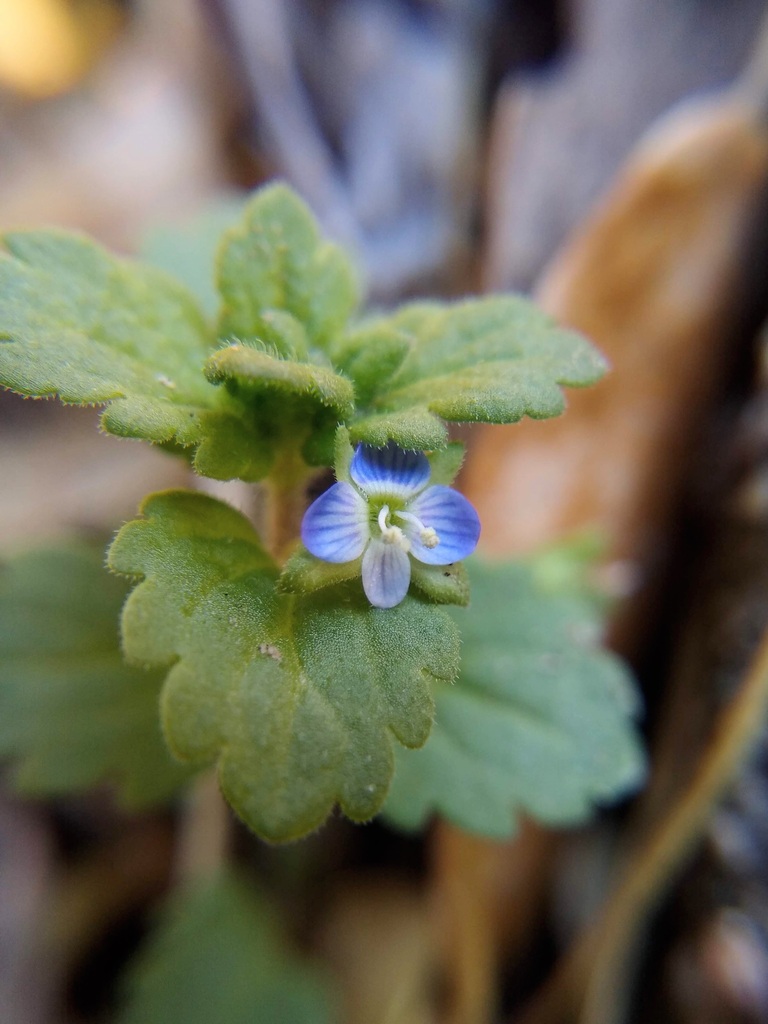
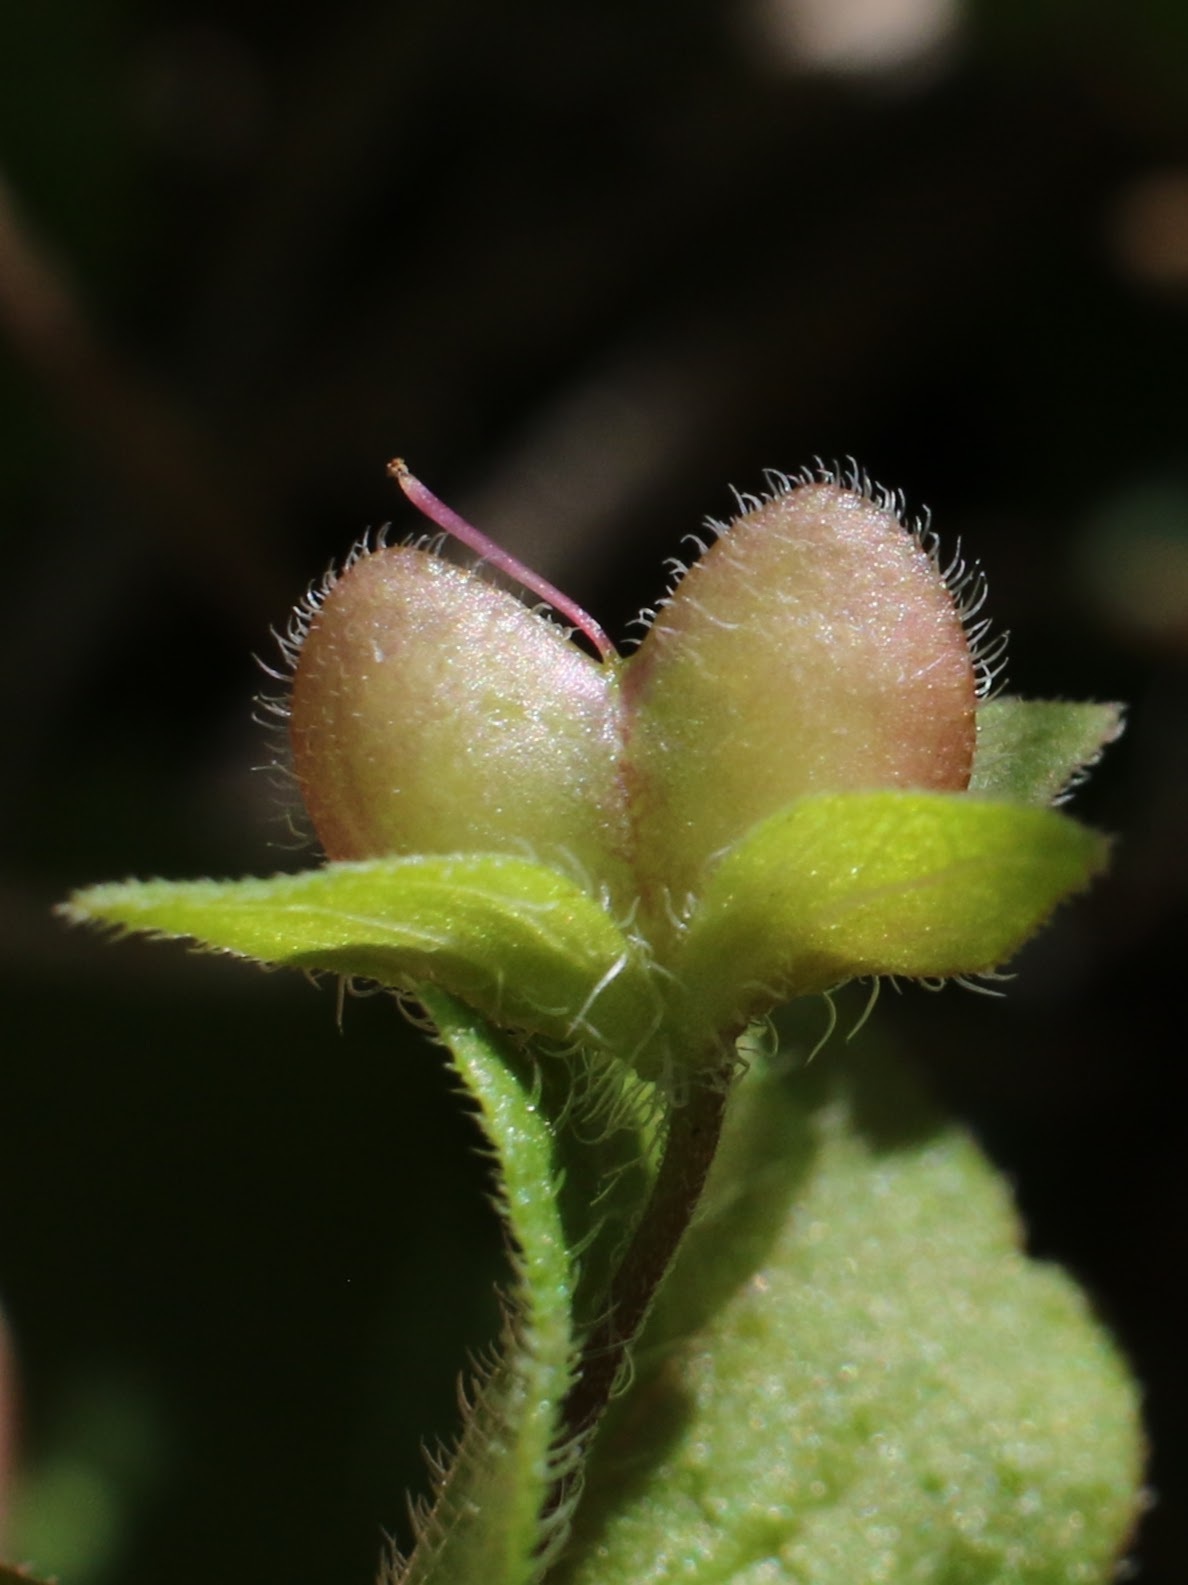
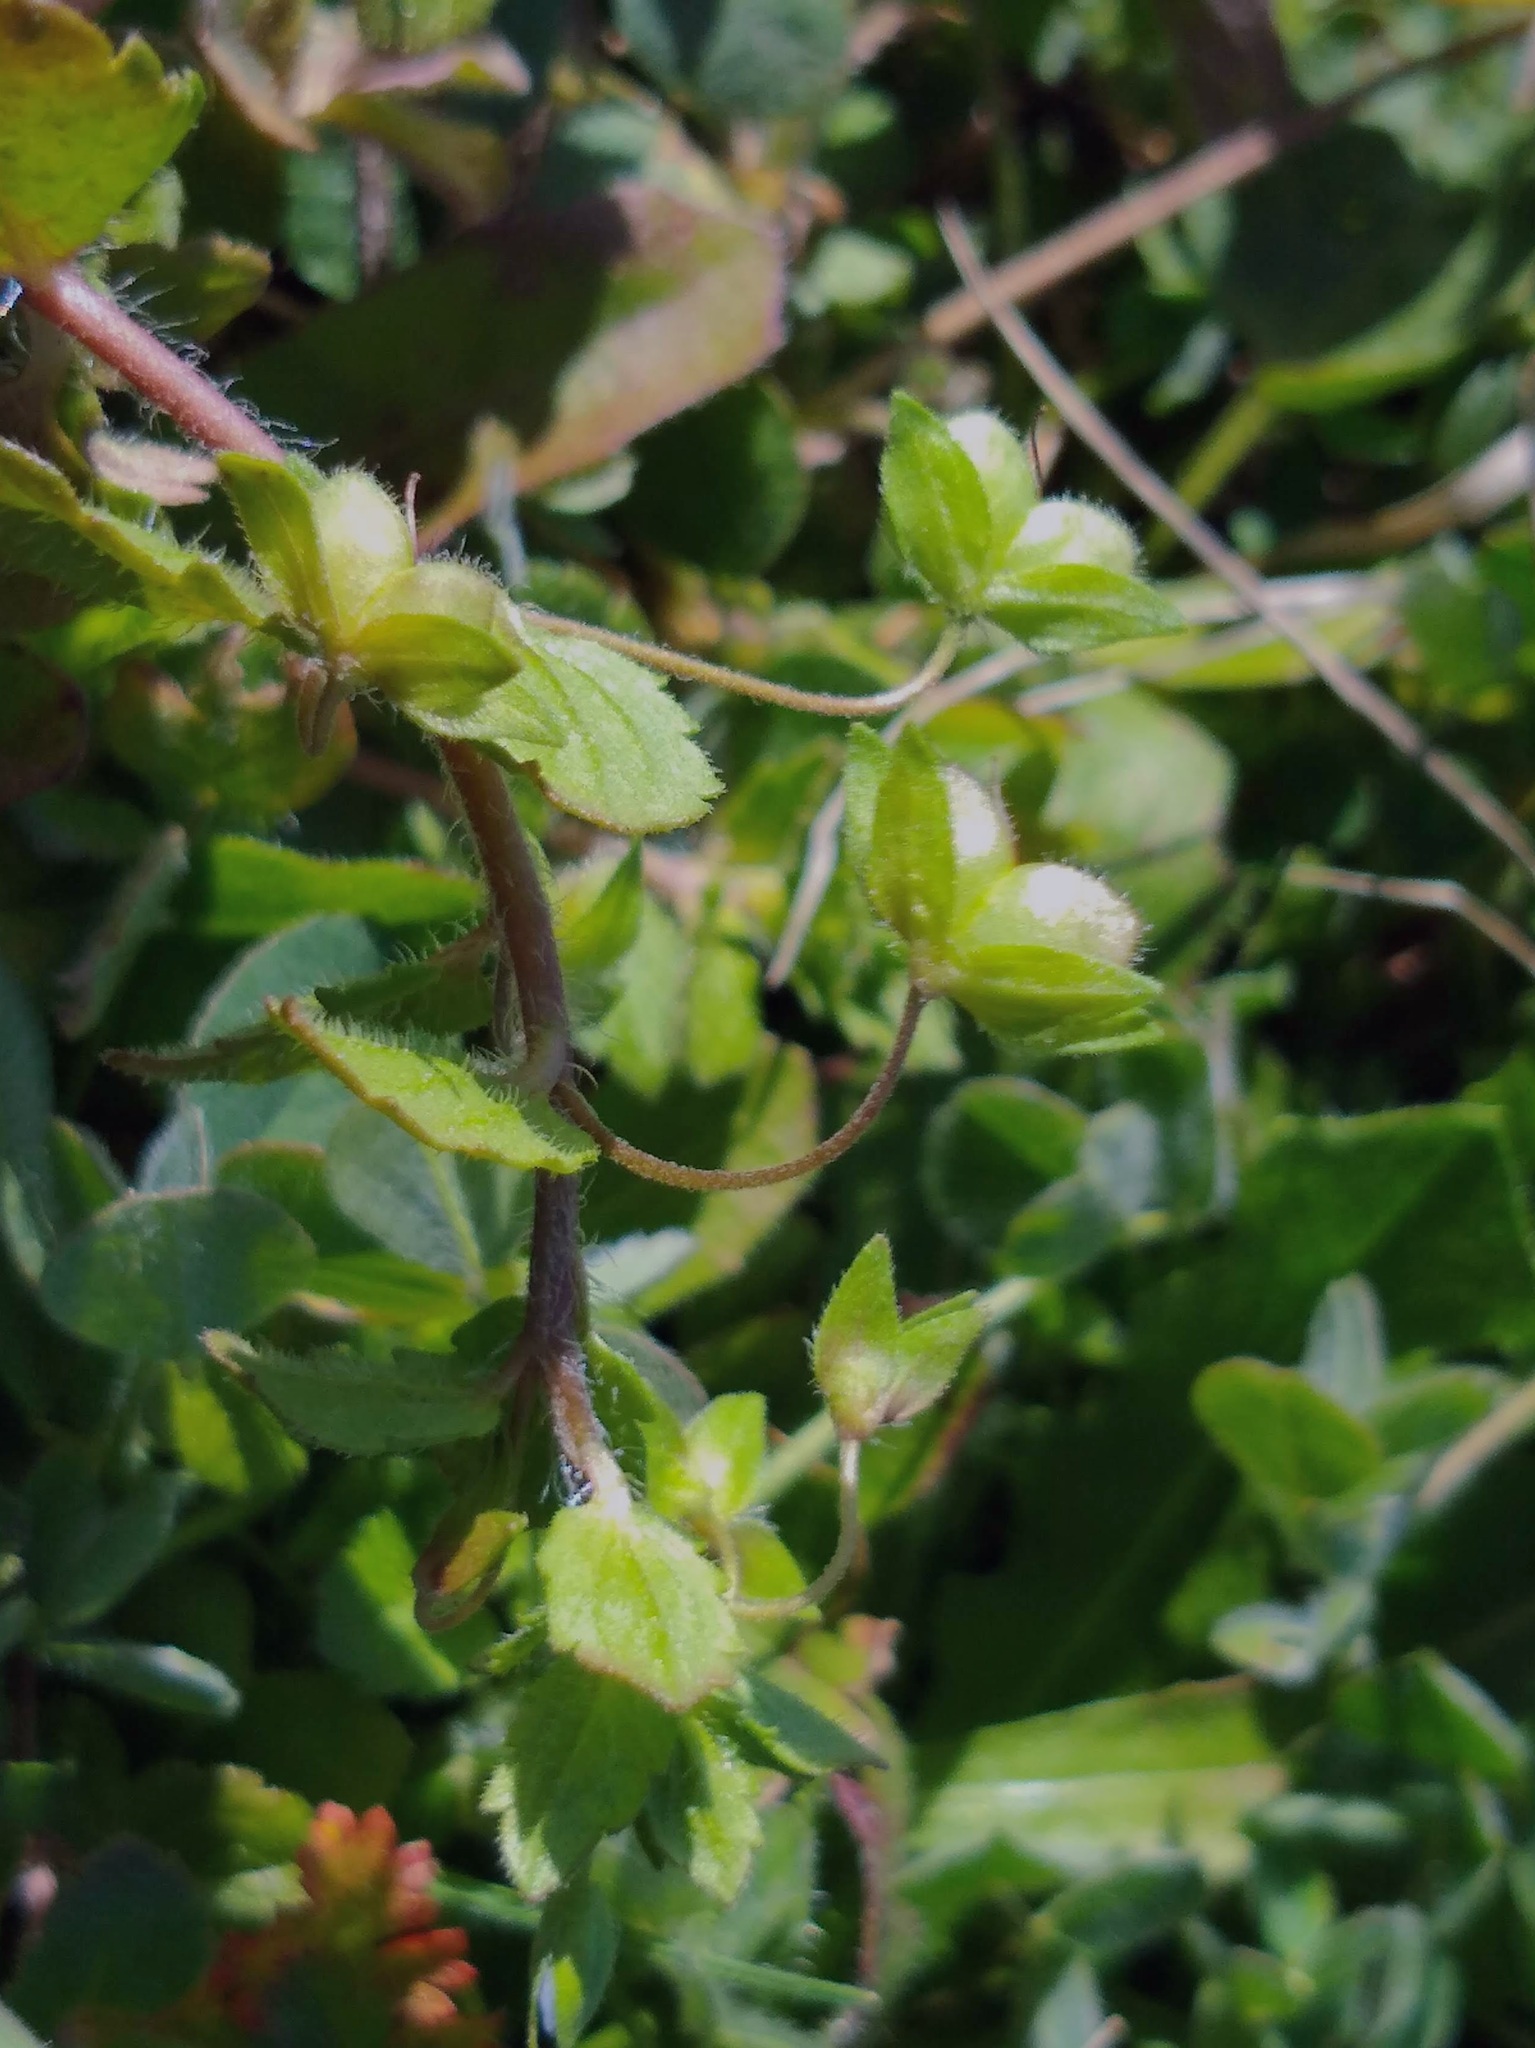
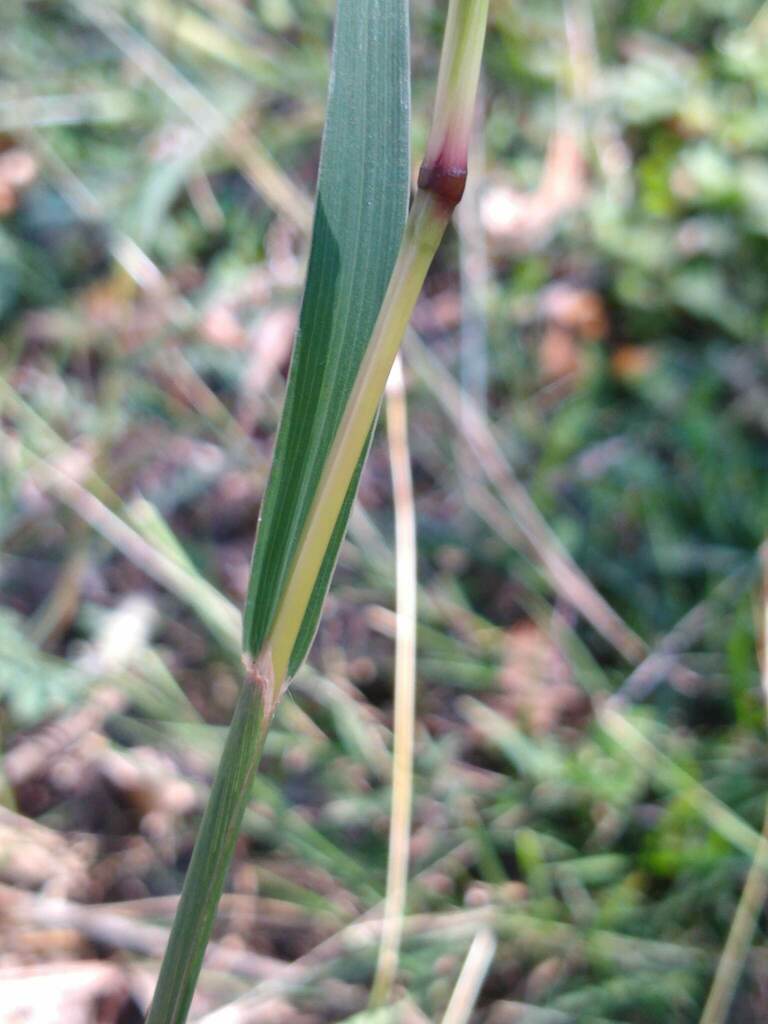
For a long while up until recently, these plants were identified as Zephyranthes traubii. However, in 2022, @jackie_martinez posted an observation of these plants, the first which clearly showed the leaves. I had been curious about these plants for a while, and when I saw the photos I immediately noticed that the leaves seemed much different from what was expected for Z. traubii. What ensued was a long conversation between @pfau_tarleton, @mcwildlife, @joshua_tx, @bacchusrock and @plantman4 over the identity of these plants, which can be seen in the observation comments. Suggestions of its identity include a hybrid taxa between Z. traubii and Z. chlorosolen and a Mexican rainlily species (to be elaborated later on).
If one reads the literature for Zephyranthes traubii, the leaves are described as filiform and very thin—up to 1 mm wide according to Flora of North America, around 1 mm wide according to Flora of East Texas, (see this observation for some good images; an excellent illustration can be found in the Flora of East Texas as well, available to view here). And these leaves looked much wider.
I spent more or less my first two years at the University of Texas at Austin thinking about these plants on-and-off, toying with the idea doing some research on them to finally nail down what these rainlilies were. In February of 2024, I finally got around to one of @mcwildlife's suggestions and emailed Dr. R. O. Flagg, the leading taxonomic authority on the rainlily group (Zephyranthes, Cooperia, and Habranthus - Cooperia is now merged with Zephyranthes), who suggested the aforementioned Mexican taxon, Zephyranthes longituba.
On Zephyranthes longituba
Zephyranthes longituba was first found and collected in April 1953 by Morris and Kitty Clint, in the Mexican state of San Luis Potosi. During one of many collecting trips to Mexico by the late Dr. W. S. Flory (who was an authority on the taxonomy of the Amaryllidaceae - Dr. Flagg was a student and research assistant of his), the Clints showed Dr. Flory the plants, which he obtains bulbs of and brought back to the Blandy Experimental Farm in Virginia. Dr. Flory recognized and named the plants as a new species in 1963, but the name was not published until 2010, after Dr. Flagg and Dr. Smith (both research assistants in Dr. Flory's lab), after reviewing Mexican specimens collected by Dr. Flory and his associates.
This species, known only from a handful of localities in the Mexican states of Coahuila and San Luis Petosi, has noted affinities with Z. traubii and Z. chlorosolen and discussion in the published description speculates on the origin of this species as a hybrid between those two. It has an exserted stigma like Z. traubii, but has taller flowers and (notably for us) wider leaves, at 1-3 mm in width. The description of Z. longituba can be found here.
Where We are At Now
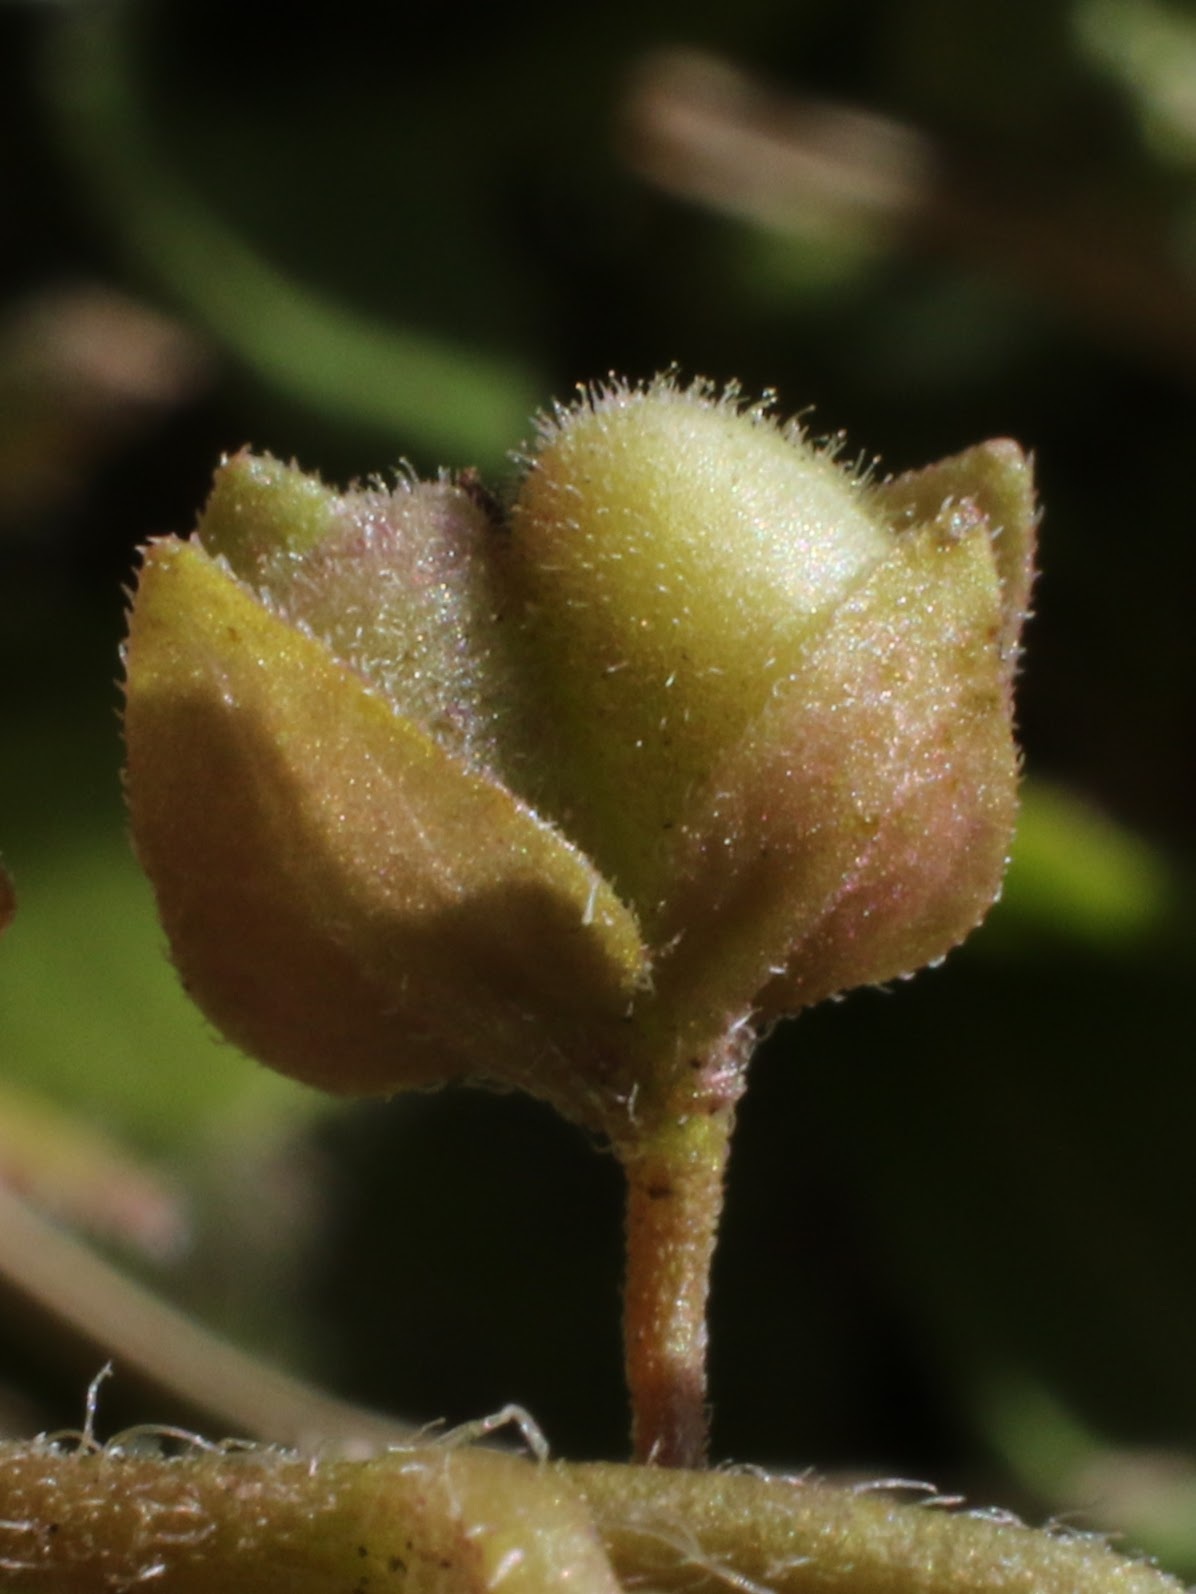
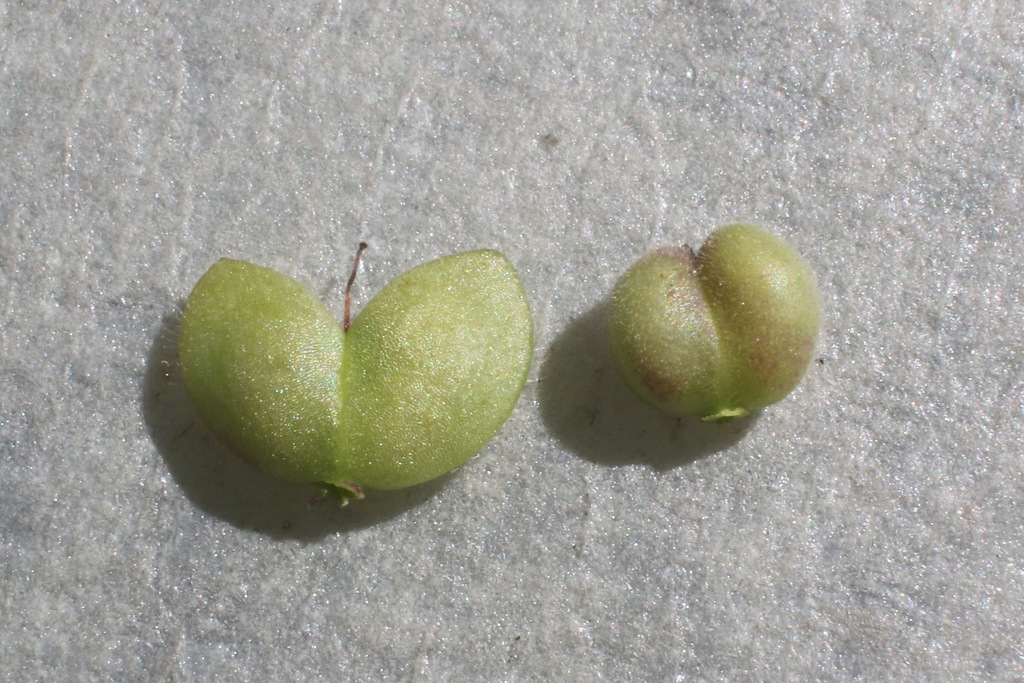
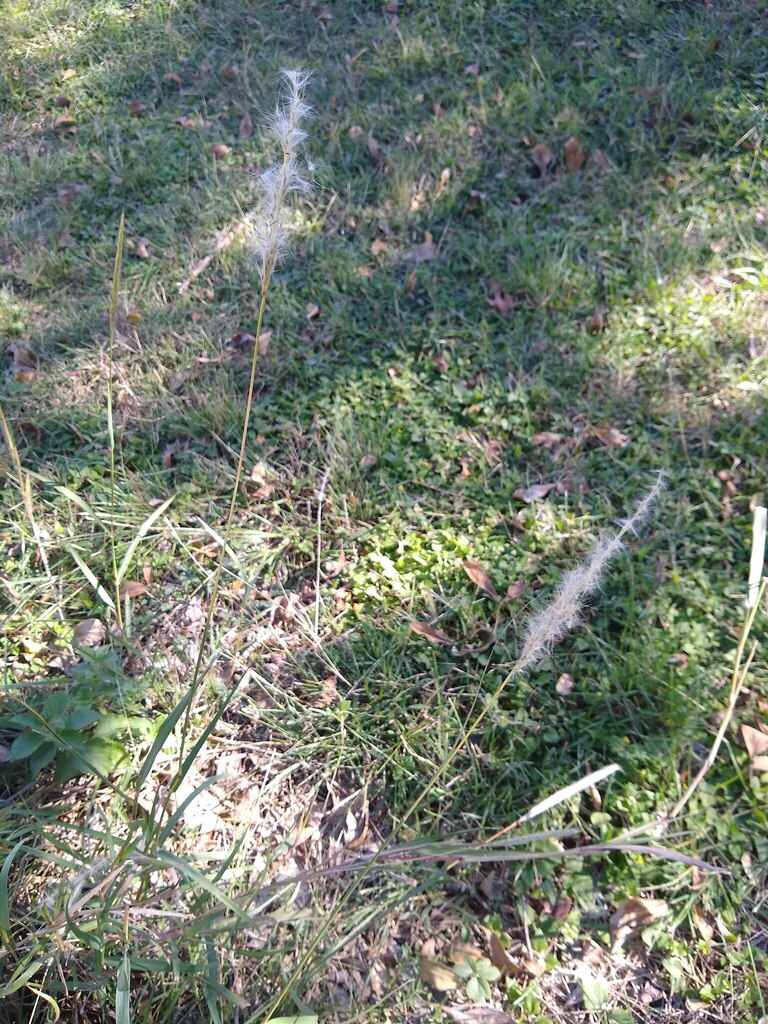
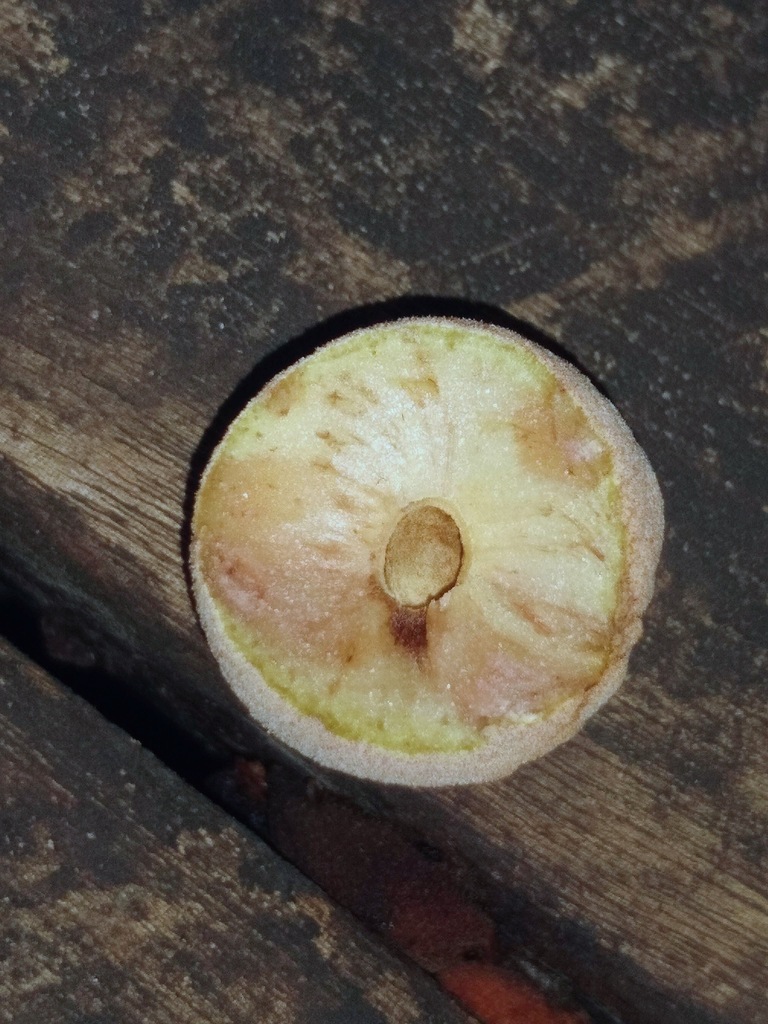
Finally, after a year or so of planning, I secured funding from the University to pursue these enigmatic plants. With a scientific study permit from Texas Parks and Wildlife and a bit of luck with the weather (rain in July!), I obtained 4 voucher specimens for these plants, along with several bulbs and seeds. I also recorded coordinates and information for all sites where the plants were observed, as well as photos which I have posted to iNaturalist—hence the rainlily observations. The bulbs and seeds are currently being cultivated and the specimens are currently in the dryer.


Seeds and collections of target Zephyranthes.
My plan is to measure these specimens and compare their morphology to specimens of Z. traubii and Z. longituba, as well as obtain a chromosome count for this species (which is why I obtained bulbs and seeds). Dr. Flory's lab extensively used chromosomal data in their work, and quite conveniently, Z. traubii, Z. longituba, and Z. chlorosolen all have different chromosome numbers:
- Z. traubii: - 2n = 24
- Z. longituba: - 2n = 48
- Z. chlorosolen: 2n = 48, 60, 72
I am currently ridiculously busy working on bringing the mitotic root-squash procedure for the chromosomes to fruition (lab safety procedures, chemical waste disposal, growing garlic roots, etc...). Likely I will have results from both cytology and morphology by the end of this year. My interest with these plants has become an obsession, and I will not stop until I have a good answer to that still-unanswered question: "what the heck are these plants?"
I would like to thank:
- @pfau_tarleton and @alisonnorthup for stoking my interest in rainlilies and in these plants, starting from that odd and still-unidentified rainlily I found in my greenbelt one day. Without you both, this wouldn't have happened.
- @mc_wildlife for all the excellent documentation of the leaves for Z. traubii. Nice work!
- @joshua_tx for his interest and time studying these plants, and for partially inspiring my own interest in plant taxonomy. I might've been a bit stubborn with you at times, but you have done a lot for iNaturalist and for identifying our Texas plants, and I greatly respect that. Thank you.
- @bob777 and @ktaylor for their outstanding paper on the flora of Enchanted Rock.
- Dr. Flagg and Dr. Smith for their guidance and suggestions, and for providing the description for Z. longituba. Dr. Flory and his associates have papers and papers on rainlilies, and they have been immensely helpful.
- Texas Parks and Wildlife for reviewing and approving the permit.
- Doug Cochran, park superintendent, and the rest of the staff at Enchanted Rock State Natural Area for accommodating us.
- Dr. George Yatskievych, curator at the Billie L. Turner Plant Resources Center (LL-TEX), for his support, advice, and encouragement throughout my botanical journey at UT Austin.
- @rymcdaniel for encouraging my interest in plant taxonomy. Thanks for turning me into a taxonomist. In my opinion, it was worth the frustration of learning botanical terminology, wrangling with dichotomous keys, flora books and taxonomic literature.
- My lab supervisor, peer mentors, coworkers, and all the kind, generous people at the University of Texas at Austin who have helped bring this to fruition.
Last but not least, I would like to thank to all the observers who have made observations of these taxa... without your contributions, we wouldn't know these plants existed.
...okay, I haven't gotten the results yet, but we'll get there. Be patient, I'm trying my best.


